Coordinate Measurement

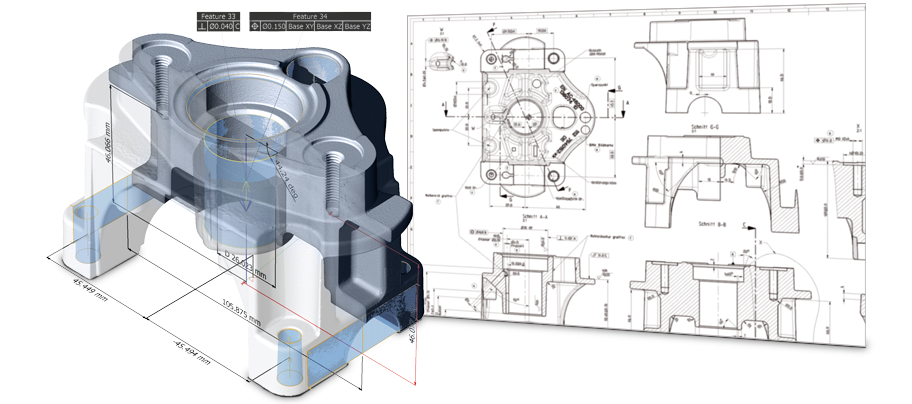
Measure even the most difficult-to-access surfaces of a component. The VGStudio MAX 3.0 Coordinate Measurement Module has been designed to fit ruled geometries such as planes or cylinders to the respective structures of a scanned object in order to perform measurements between these objects. All results from coordinate measuring can be documented both graphically and statistically in a user-defined measurement report. Not only can ruled geometries and measurements be presented in 3D views, but also visualized in 2D views as in conventional engineering drawings.
In version 3.0, we’ve added helpful object registration options to the Coordinate Measurement Module (CMM) and significantly improved the best-fit registration.
THE MODULE NOW OFFERS:
- metrology on point clouds in addition to voxel, CAD, and mesh data;
- a complete range of measuring functionality including geometric dimensioning and tolerancing (GD & T according to DIN EN ISO 1101);
- object registration optimized for each supported data type (voxel, CAD, mesh, and point cloud data);
- registration with optional constraints, e. g., rotate an object around one axis only while locking the others;
- enhanced alignment techniques, e. g., 3-2-1 registration that allows for offsets and subsequent rotations to solve highly complex alignment tasks;
- feature-based registration mode that aligns a scan covering only a section of a sample, e. g., to the CAD model of the entire part;
- tolerancing of registration results to determine their quality;
- line and surface profile tolerances;
- more construction possibilities with geometry elements;
- the extraction of min./ max. fit points of a contour;
- reduction of measurement uncertainty by using thousands of automatically generated fit points;
- the ability to create preparatory inspection plans on CAD data, mesh data (.stl), or even on another CT scan; and
- saving of .mvgl files for VGMetrology 3.0.


