RoboScan S

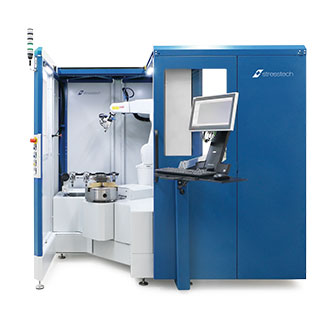
RoboScan S Vertical is designed for the quality control needs of small to medium sized circular symmetrical parts like gears and passenger car shafts.
RoboScan S Vertical provides fast and flexible measurements with high repeatability for vertically oriented parts.
- One stand can be equipped with several different sensors for detecting a wide variety of surfaces and parts
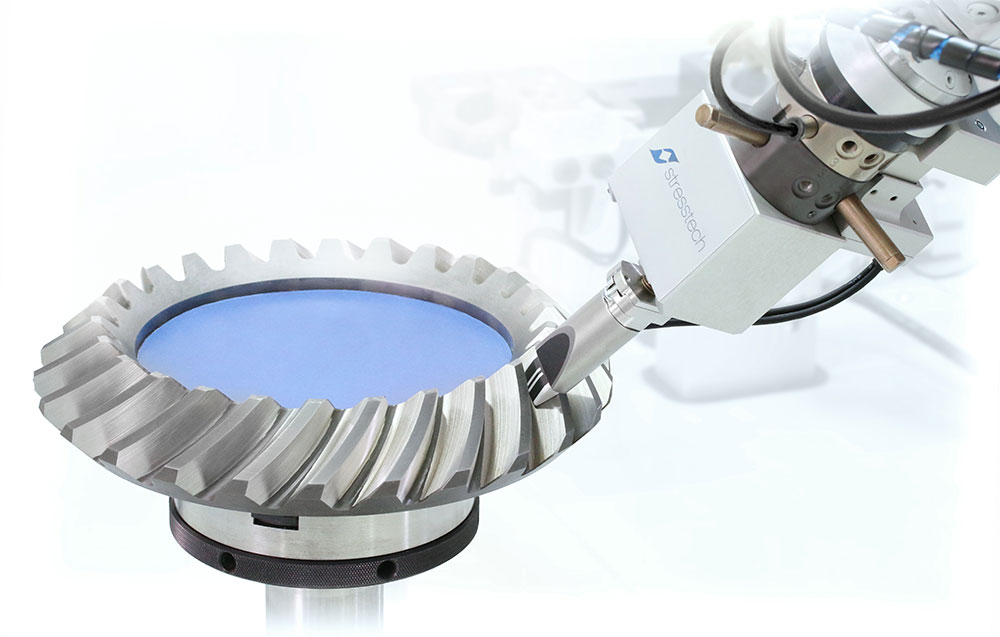
- Suitable for detecting grinding burns on both ID and OD surfaces
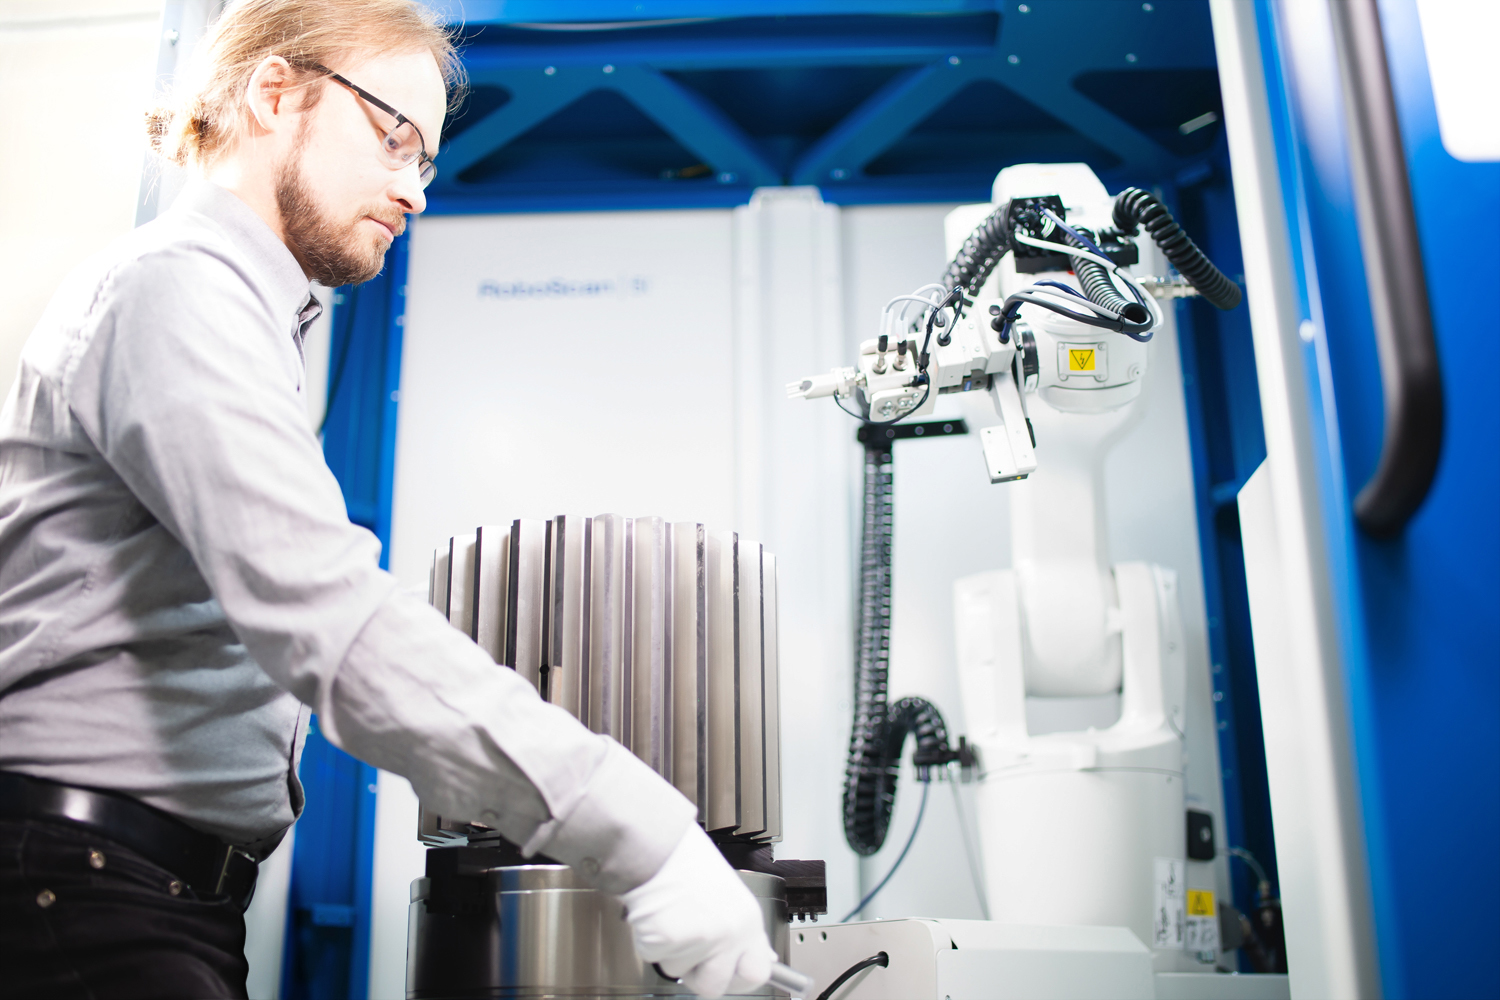
- Free access for part clamping allows ergonomic working position
Standard Features
Enclosure
- The robot is located inside the safety enclosure which houses the entire measurement movement system. The safety enclosure is equipped with an emergency stop system, safety door at the front, and one service door on the left side. The electric cabinet is integrated to enclosure.
Robot
- ABB Industrial Robot
- ABB Robot Controller
- ABB Teach Pendant
Control panel with
- Emergency stop push button
- Emergency stop reset button
- Reset cycle button
- Access request button
- Door open/close button
Vertical rotation unit with manual chuck
- RoboScan S is equipped with a MTD 250 Gear unit, which rotates the sample. The stand is equipped with a 3-jaw chuck with optional exchangeable custom jaws.
Keyboard and monitor mount
- Ergonomic keyboard and monitor mount with adjustable position to suit multiple operators.
Part indexing
- Laser indexing/Infrared camera indexing for sample orientation definition.
Signal light tower

Measurement programming software
- The measurement programming software takes care of running the robot when programs are created. Creating measurement programs is made easy. The measurement programming software is connected with our ViewScan measurement data analyzing program. The measurement programming software depends on the part to be measured. As standard, there are two options:
- Stresstech Teaching App: Suitable for vertically oriented parts like hypoid gears and bearings.
- HTML-based human-machine interface: Suitable for shafts e.g. for measuring camshafts lobes and crankshaft journals.
- Three (3) ready made measurement programs are included with the standard system. More programs can be purchased as options.
- As an option, there is EasyGear software available for helican and spur gear measurements. More information can be found in the Options section below.
Factory acceptance test
Documentation in English

Mandatory Accessories
Analyzer
- Rollscan 320
Data analyzing software
- ViewScan data analyzing software
Sensor and sensor fixture for each sensor:
- Manual
- Automated
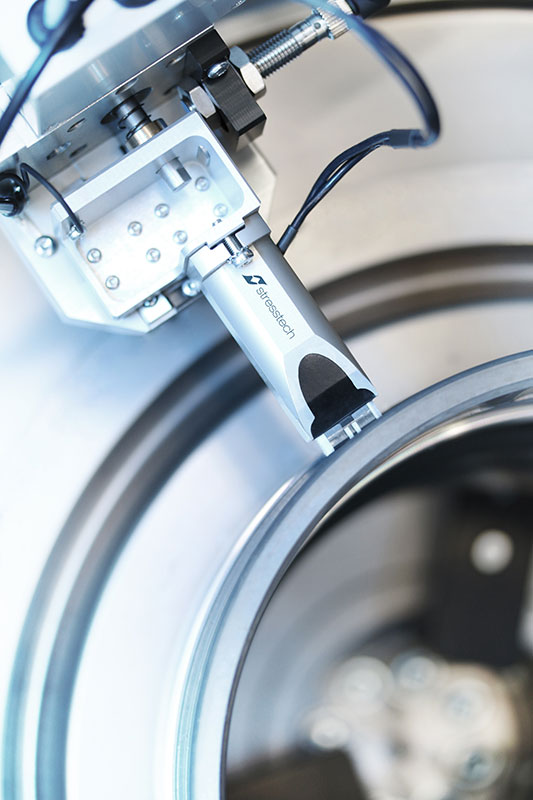
Barkhausen noise sensors are available in many different types, shapes, and sizes. Sensors are completely customizable to suit any operation. All sensors require sensor fixture, in-built or fixable.
For RoboScan, there are manual and automated sensor fixtures available depending on sensor type and automation level of the system. Sensor fixtures have proximity switches for crash detection. The crash detection switch is activated if the sensor’s inward linear movement is too large. One fixture, depending on the solution, can be equipped up to 2 sensors for multichannel measurements.
Advanced design in sensor fixtures guarantees steady contact between the sensor and the part to be measured. Measurement contact is one of the most critical factors when performing Barkhausen noise measurement.


